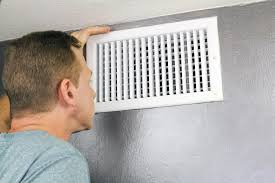
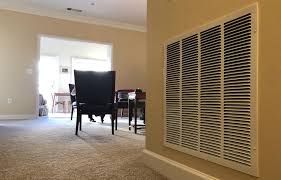
Air return vents collect dust, dirt, hair, and allergens such as pollen over time. Left uncleaned, these particles circulate, worsening air quality. Dirty vents strain HVAC systems, increasing the risk of repairs and reducing efficiency.
For tenants, buildup causes discomfort, triggers allergies, and makes homes feel stale. Regular vent cleaning is a quick way to extend the life of your HVAC system and demonstrate concern for renters’ health.
Tools and Supplies You’ll Need
Before starting, gather the right tools to make the process easier:
- A screwdriver or drill (for removing vent covers)
- A vacuum with a hose attachment
- A soft brush (paintbrush or cleaning brush)
- Mild soap or cleaning solution
- A microfiber cloth
- Optional: compressed air canister or HVAC-specific cleaning spray
Step-by-Step Guide to Cleaning Air Return Vents
1. Turn Off the HVAC System
Safety first—always switch off the heating or cooling system before beginning. This prevents dust from circulating while you’re working and avoids any accidents with moving parts.
2. Remove the Vent Covers
Use a screwdriver or drill to remove vent covers. Keep screws safe. Be gentle with painted covers to avoid chipping.
3. Vacuum the Vent Covers
Bring vent covers outside or to a ventilated area. Vacuum dust. For stubborn grime, gently scrub with warm soapy water and a soft brush. Let them dry fully before reinstalling to prevent mold.
4. Clean the Duct Opening
With the covers off, use the vacuum hose to clean inside the duct opening. No need to go deep—leave ductwork cleaning to professionals. Clearing edges improves airflow and reduces buildup.
5. Dust with a Brush
A soft brush removes particles the vacuum misses. Brush gently along vent edges and duct openings. Use compressed air, if available, for tight corners.
6. Wipe Down and Reinstall
Wipe vent covers with a microfiber cloth before reinstalling. Once dry, screw back in place.
7. Replace Filters if Needed
While cleaning vents, check HVAC filters. Dirty filters can undo your efforts, so replace if needed.

How Often Should Vents Be Cleaned?
For most rental properties, cleaning air return vents every 3 to 6 months is sufficient. However, if tenants have pets, smoke indoors, or suffer from allergies, you may want to schedule vent cleaning more often. It’s also smart to coordinate vent cleaning with seasonal maintenance, such as changing filters before the start of summer cooling or winter heating.

Benefits for Rental Property Owners and Managers
Cleaning air return vents provides several benefits that go beyond dust control:
- Improved Tenant Satisfaction: Renters appreciate clean, healthy air, especially those with allergies or respiratory issues.
- Longer HVAC Lifespan: A cleaner system runs more efficiently and experiences less strain.
- Lower Maintenance Costs: Preventive cleaning helps reduce the likelihood of expensive HVAC repairs.
- Stronger Reputation: Consistently well-maintained rentals can boost tenant retention and attract new renters.
When to Call a Professional
Routine vent cleaning is simple for owners or tenants, but hiring a professional is recommended if there’s mold, persistent odors, or recurring dust. Professionals can thoroughly clean ducts and maintain the system in optimal condition.

Air return vents are crucial for a safe, comfortable, efficient property. With basic tools and a little time, landlords and managers can ensure better air quality, longer HVAC life, and happier tenants.
Including vent cleaning in your maintenance routine protects your investment and keeps renters happy.
Learn more about the property management services that we can offer you by calling us at (503) 646-9664 – Talk to a Live Person – Our office answers the phone 9 AM to 5 PM Monday through Friday – or click here to connect with us online.
